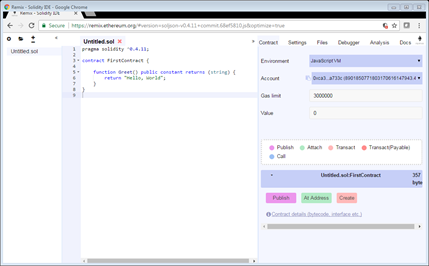
To develop and test an Ethereum smart contract we need a test network. The easiest way is go get spin off our own test chain with sufficient amount ethers. Below are the steps for spinning a development chain.
First download the latest Geth from the below URL

As I am using a windows machine, I downloaded the windows version. Install the Geth on your machine as per the installation guide.
Create a folder called DevChain where you can keep the chain data.
After that let’s create an account using command prompt. Specify the password when prompted.

Now create a genesis file to define the genesis block, which is the start of the block chain. Here is the genesis file (“genesis_dev.json”) I am using. Replace the account number with number you got in the previous step.
{
"nonce": "0x0000000000000042",
"difficulty": "0x200",
"config": {
"chainId": 15,
"homesteadBlock": 0,
"eip155Block": 0,
"eip158Block": 0
},
"alloc": {
"0x0bd615694d433424c292599f080bda45b0c257fc": {
"balance": "100000000000000000000000"
}
},
"mixhash": "0x0000000000000000000000000000000000000000000000000000000000000000",
"coinbase": "0x0000000000000000000000000000000000000000",
"timestamp": "0x00",
"parentHash": "0x0000000000000000000000000000000000000000000000000000000000000000",
"gasLimit": "0x8000000"
}
Now create a batch file (“startgeth.bat”) which will initialize the network every time you run.
RD /S /Q %~dp0\devChain\geth
geth.exe --datadir=devChain init genesis_dev.json
geth.exe --mine --networkid=12345 --cache=2048 --maxpeers=0 --datadir=devChain --rpc --rpccorsdomain "*" --rpcapi "eth,web3,personal,net,miner,admin,debug" console
Now run the batch file to initialize and start the test network.

Now our development network is ready to start deploying and testing smart contracts.