As you know MVC 6 has significant changes from its previous
version. Sometimes you won’t feel these changes when you use the predefined
Visual Studio templates. If you want to know the bootstrapping changes in MVC 6
the easiest one would be start the Visual Studio project with empty template
and keep adding those you need.
In this blog I will go through the steps involved in
creating a MVC project using an empty template. I will add all the necessary
elements to this empty template and make my project runnable.
Here I am using the Visual Studio 2015 CTP 6. As it is a CTP
version, the actual steps may change in the RTM.
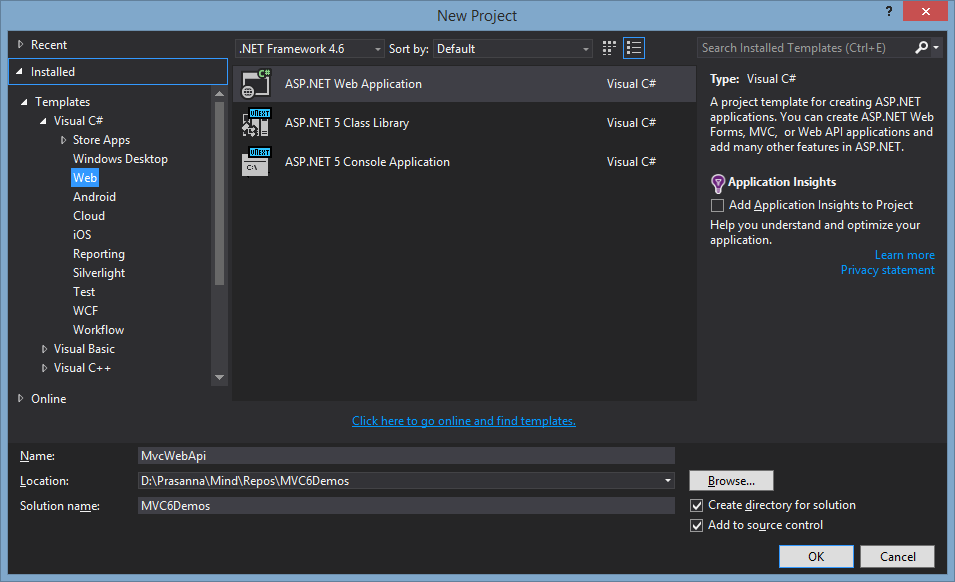
First start off creating a blank ASP.NET project with Visual
Studio 2015 CTP 6. As shown in the image below pick the web template and choose
ASP.NET Web Application.
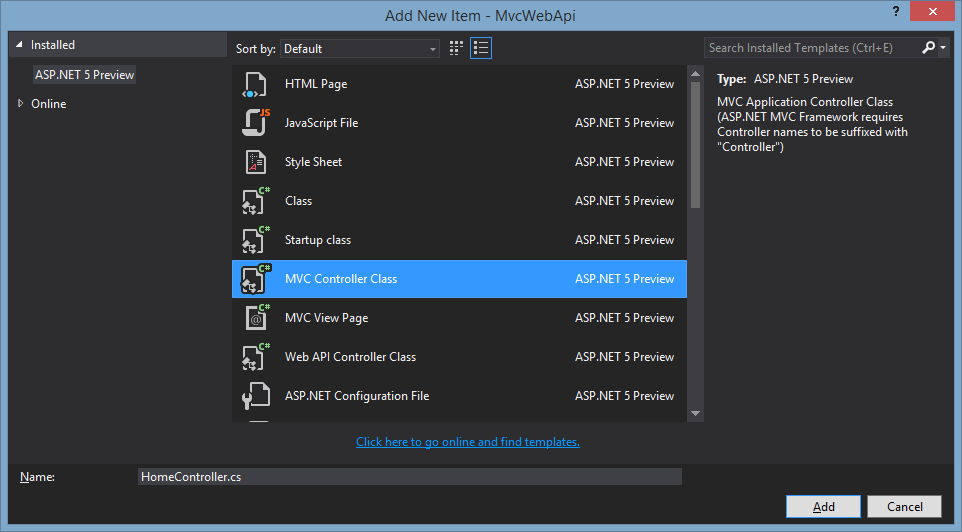
In the next screen select "ASP.NET 5 Preview Empty”
template and click ok. This will create the blank ASP.NET web application.


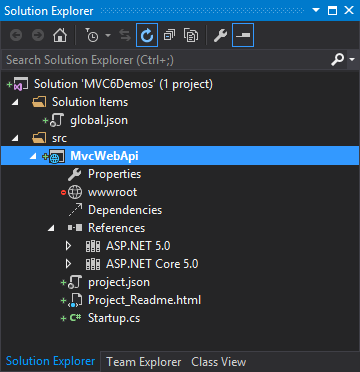
As
you notice there are significant differences. Below are the brief description
of some of the changes in MVC 6 compared to previous versions:
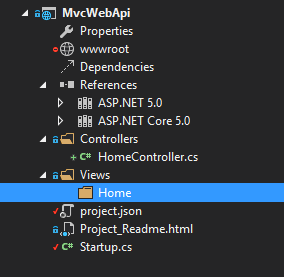
- You may not notice but there is no project file. All files in the folder will be automatically picked up. “project.json” contains the configuration for the project
- There is no web.config. MVC 6 introduces configuration through Json file. I will cover this in my next bolg
- There is no Global.asax file. This was replaced by Startup.cs which is used to configure the web application.
- Wwwroot folder was introduced. This is similar to the Content folder in the previous version. This is used for storing all the static content of the application. When referencing from your view you don’t need to specify “wwwroot”
- Under References you will observe two refernce folders “ASP.NET 5.0” & “ASP.NET Core 5.0”. In addtion to deployment as earlier, ASP.NET can also be deployed side by side or in other environments. This is sometimes called as cloud deployment.
As mentioned earlier Startup.cs is used to configure our web
application. Here is the code generated by Visual Studio for Startup.cs.
public class Startup
{
public void ConfigureServices(IServiceCollection services)
{
}
public void Configure(IApplicationBuilder app)
{
}
}
As you see this is no code. When the application starts,
ASP.NET calls ConfigureServices where we would configure MVC and any other
services. After this ASP.NET invokes Configure method, in which we can
configure the services that are added to ASP.NET.
Let’s start MVC by adding MVC 6 to our project using Nuget
as shown below:
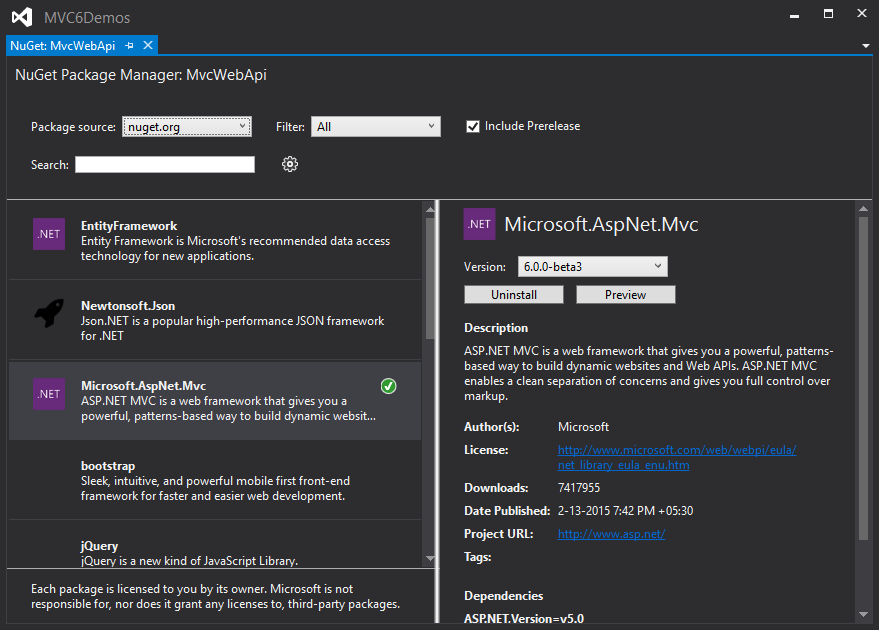

Once Nuget successfully install MVC 6, update the Startup
class with the below code, where we add MVC service and configure the routing.
public class Startup
{
public void ConfigureServices(IServiceCollection services)
{
services.AddMvc();
}
public void Configure(IApplicationBuilder app)
{
app.UseMvc(routes =>
{
routes.MapRoute(
name: "default",
template: "{controller}/{action}/{id?}",
defaults: new { controller = "Home", action
= "Index" });
});
}
}
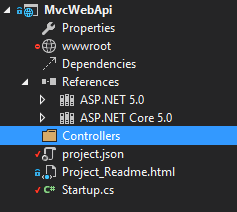
Once MVC service is added, rest of this is similar to what
we do in earlier versions of MVC. So let’s add a Controller. For this we first
need to create the Controllers folder and followed by creating a Controller
class as shown below.
Here is the default code in the controller that is generated by Visual Studio


Here is the default code in the controller that is generated by Visual Studio
public class HomeController : Controller
{
// GET:
/<controller>/
public IActionResult Index()
{
return View();
}
}
Now Similarly create the View for the Index action (first creating the Views Folder)

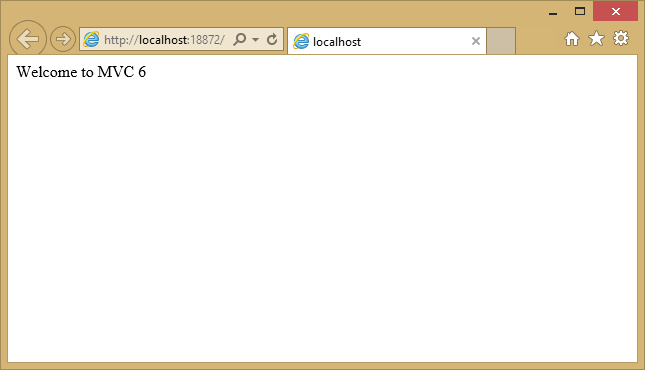
Once the view is created, let's add the "Welcome to MVC 6" message into the view as shown below
@*
For more information on enabling MVC for
empty projects, visit http://go.microsoft.com/fwlink/?LinkID=397860
*@
@{
//
ViewBag.Title = "Home Page";
}
Welcome
to MVC 6
We are done with our code. Now let’s run the application and we can see our message.
So we were able to create an MVC application using a blank
Visual Studio template. In my next blog I will show how we can create a WebAPI
using MVC 6 controller.
I uploaded my code on to my GitHub.
Why when we remove the roles authorize does not work automatically, because I need to log out and then a login for work? The problem is that the roles are stored in the cookie. I have to find some solution to update the cookie. When do I remove a roles directly in the database the cookie is outdated. I think I have update the cookie to each User request. The example I'm using is on github https://github.com/aspnet/Musi...
ReplyDeleteOnce you update roles, I recommend you manually signin user. I am doing something similar. Here is the code I used.
ReplyDeleteApplicationUser user = await userManager.FindByIdAsync(profile.UserID);
await signInManager.SignInAsync(user, false);
This will update the cookie.
Alternatively you can use different mechanism instead of cookie. The below example show how to use cache object to store the cookie
https://github.com/aspnet/Security/tree/dev/samples/CookieSessionSample